
Running display using piSignage web app


Here we see how to create piSignage displays using any linux based player supporting chromium browser using piSignage web app. This method also can be used to run piSignage in any display device having an inbuilt chromium based browser.
STEPS
1) Install chromium app in your Hardware.
2) Go to pisignage.com/player2 in the chromium browser. You can see a player ID displayed on screen.
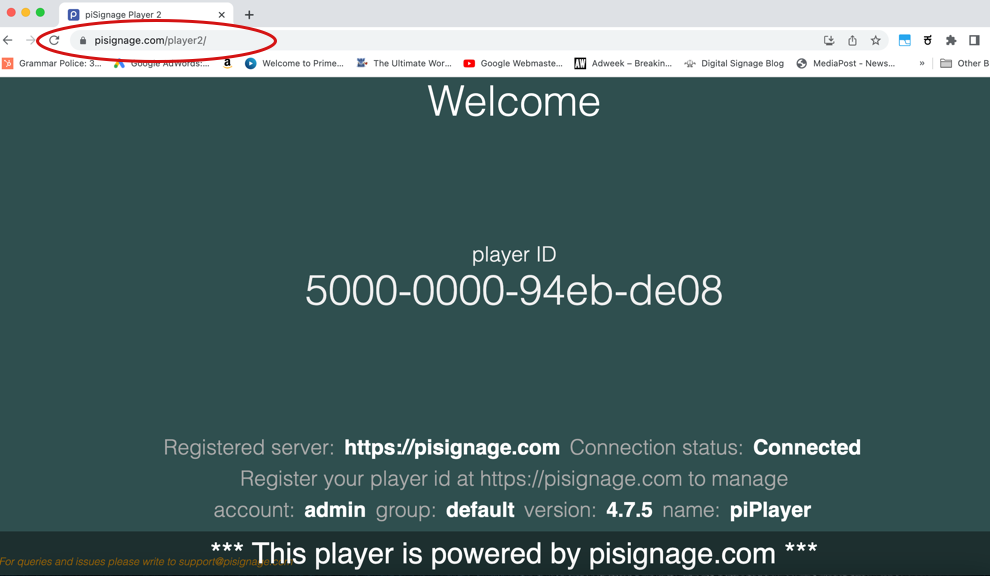
Screenshots shown here are of setup demo performed using a chrome browser on a PC. The process remains same irrespective of your device.
3) Now at the right corner of the address tab you can see a small option using which you install piSignage player 2 web app in your hardware .
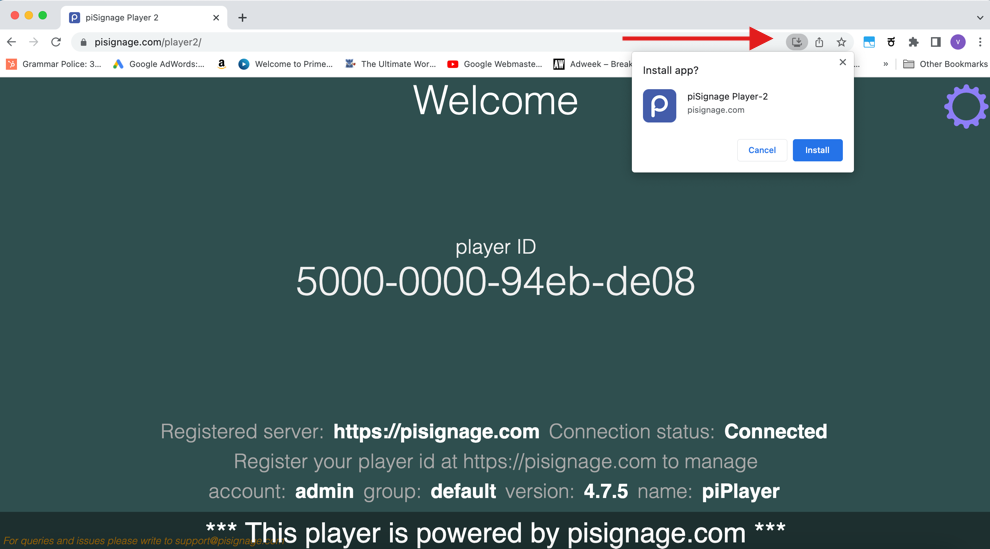
This installation can also be done by going to the customise browser settings at the top right corner of the browser and clicking on install piSignage player 2 option.

4) Now Register this player using the ID displayed on screen in your piSignage user account .
Once registered you can deploy this player in a group and your piSignage display is up and running. As said above this method can be used to run piSignage displays on screens with inbuilt chromium app. Except for some advanced features like custom layouts and dual screen support, most of the piSignage features are available in this way.