
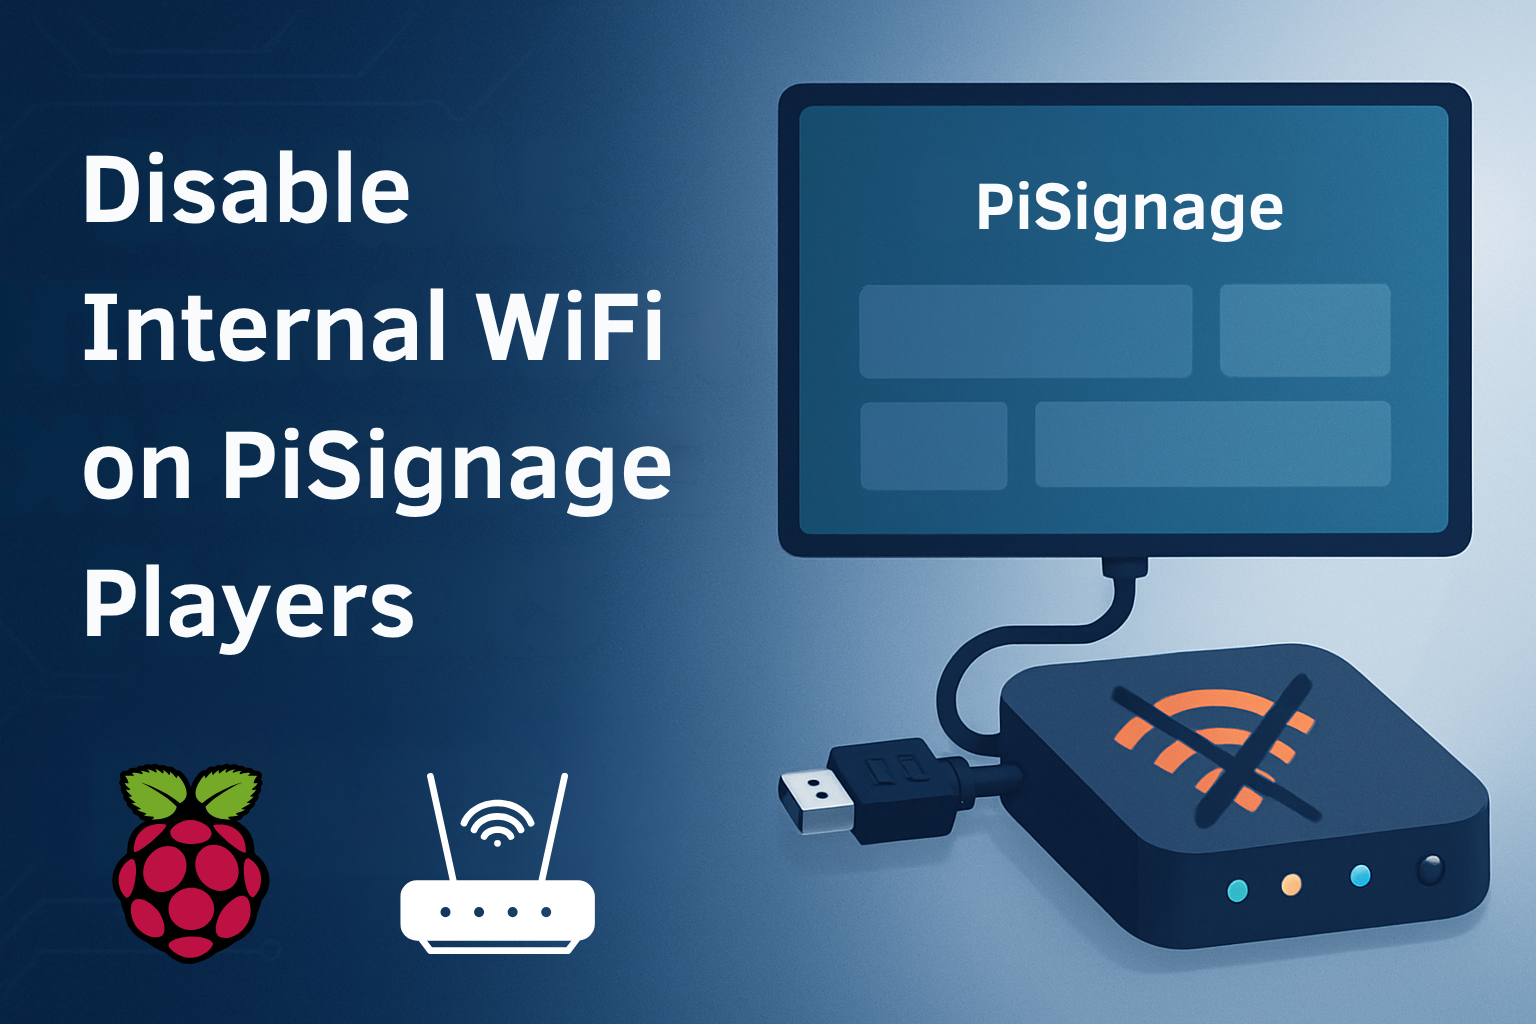
Disable Internal WiFi on PiSignage Players for Secure, Stable Deployments
Learn how to disable internal WiFi and Bluetooth on Raspberry Pi 3 running PiSignage. Improve security, reduce power draw, and ensure stable deployments across locations with this step-by-step guide for IT admins and AV integrators.

If you're managing multiple PiSignage deployments across different locations, especially in enterprise or secure environments, you've likely run into two issues:
- Unreliable WiFi connections
- Unnecessary wireless interfaces left active.
In certain deployments—especially multi-site rollouts—disabling internal WiFi and Bluetooth on Raspberry Pi players is a smart choice for tighter network control and cleaner connectivity. PiSignage supports this setup out of the box, making it easy to align with enterprise security policies. It reduces power consumption, prevents rogue access, and gives you tighter control over connectivity—especially when you're using external USB dongles or wired Ethernet.
– Disable internal WiFi & Bluetooth on Raspberry Pi
– Configure secure deployments using USB WiFi dongles
– Manage multi-location networks with SD card provisioning
– Understand why this method improves stability and control
Let’s walk through the why, how, and best practices—based on PiSignage documentation and real-world experience.
Why You Should Disable Internal WiFi and Bluetooth
In any digital signage deployment, especially in critical locations like schools, hospitals, or factories, network stability and attack surface are real concerns. Raspberry Pi 3 boards come with onboard WiFi and Bluetooth radios that:
- Can accidentally connect to unintended networks
- Consume power, even when not in use
- Often provide weaker signal strength than USB WiFi adapters
If you're using PiSignage in a setup that relies on Ethernet or external WiFi dongles, you don't need these onboard radios enabled at all.
How to Disable Internal WiFi and Bluetooth on Raspberry Pi 3
Here’s the process we follow internally before shipping out pre-configured players:
- Open a terminal via SSH or attach a monitor and keyboard.
- Save and reboot the player.
Paste in the following lines:
blacklist brcmfmac     # Disables Broadcom WiFi driver used by onboard wireless
blacklist brcmutil     # Supporting module for brcmfmac, must be disabled too
blacklist bluetooth    # Disables generic Bluetooth kernel module
blacklist btbcm        # Disables Bluetooth support for Broadcom chips
blacklist hci_uart     # Blocks Bluetooth communication over UART interface
Create a config file using:
sudo nano /etc/modprobe.d/disable_rpi3_wifi_bt.conf
This custom config file tells the system to ignore WiFi and Bluetooth modules at boot, ensuring the internal radios stay completely disabled — even across reboots or OS upgrades.
🧠 Optional Advanced Note (for Raspberry Pi 4+):
If you're deploying PiSignage on Raspberry Pi 4 or newer, you can disable the internal WiFi and Bluetooth at the firmware level — before the OS even loads — by editing the config.txt file in the boot partition.
Add these lines:
dtoverlay=disable-wifi   # Disables the onboard WiFi interface at the firmware level
dtoverlay=disable-bt     # Disables onboard Bluetooth to prevent kernel from initializing it
You’ll now have fully disabled the onboard WiFi and Bluetooth. This is ideal if you’re provisioning signage players with external WiFi dongles, which often offer stronger signal and antenna support.
Q: Can I use USB WiFi after disabling internal wireless radios?
A: Yes. External USB WiFi adapters work independently and typically have better range. Just plug in the dongle and configure your WiFi as you normally would.
Best Practices for Managing WiFi Across Locations
If you're managing a network of screens across campuses, retail stores, or corporate offices, getting WiFi configuration right can make or break your deployment. PiSignage offers several secure, scalable options to help:
- SD card preconfiguration: Edit the
player-config.txtfile with your WiFi SSID and password during initial setup. - First-time setup access point: When you first power on a new PiSignage player, it broadcasts a temporary hotspot (
pi-player_xxxx) that lets you configure WiFi through your browser. - Auto-disable AP mode: After credentials are saved, the access point is automatically turned off to avoid exposure.
You can refer to the PiSignage setup documentation for detailed steps on SD card provisioning and network configuration.
Q: What happens after I configure WiFi through the access point?
A: Once WiFi credentials are saved, PiSignage automatically disables the access point, so the player can’t be reconfigured wirelessly unless you plug in a keyboard or use Ethernet.
Also, avoid open or captive portal networks—PiSignage is designed for secure, pre-authenticated access only. If your deployment site has patchy WiFi, stick with Ethernet or high-gain USB WiFi dongles to ensure stable content delivery.
⚙️ Pre-Flash Your SD Cards for Streamlined Setup
If you're managing dozens of PiSignage players, manually configuring each one slows down your rollout. Instead, you can pre-flash your SD cards with configuration files before deployment to save time and reduce onsite steps.
Here’s how:
- Add your WiFi credentials to
player-config.txt(located in the boot partition of the SD card) - Optionally, disable internal WiFi or Bluetooth by creating the
disable_rpi3_wifi_bt.conffile or editing/boot/config.txtwith overlays (for Pi 4+) - Insert the SD card into the player — it will auto-configure on first boot
🔁 This method pairs perfectly with SD card cloning for batch deployments across multiple screens.
You can set up aplayer-config.txtmanually in the/bootpartition of your SD card. This allows you to pre-specify Wi-Fi SSID, password, timezone, group, and auto-registration parameters before first boot — making setup plug-and-play.
Full instructions are available in the Player image customization guide
Special Considerations for Secure Environments
If you’re installing players in schools, banks, or government buildings, take it a step further:
- Use VLANs or segmented WiFi with WPA2 encryption
- Physically restrict USB and Ethernet access
- Disable internal radios by default in your provisioning workflow
- Keep your firmware and PiSignage version updated regularly via PiSignage dashboard tools
Q: Can I run PiSignage without any internet access at all?
A: Yes. PiSignage supports offline playback using cached content and USB uploads. You only need internet access for initial setup or pushing remote updates.
Final Thoughts
Disabling internal WiFi might seem like a small tweak, but for system admins and AV professionals, it’s a high-impact, low-effort way to secure and stabilize your signage network.
By combining PiSignage’s offline support, SD card provisioning, and a few simple network policies, you can reduce support time and deployment friction.
Build Secure, WiFi-Optimized Digital Signage Networks
Whether you're managing 5 screens or 500, PiSignage helps you deploy faster, stay secure, and operate offline when needed. Get started with your own setup—no credit card, no trial limits.
Originally published in 2018. Fully updated and expanded in August 2025 to reflect the latest PiSignage features.