
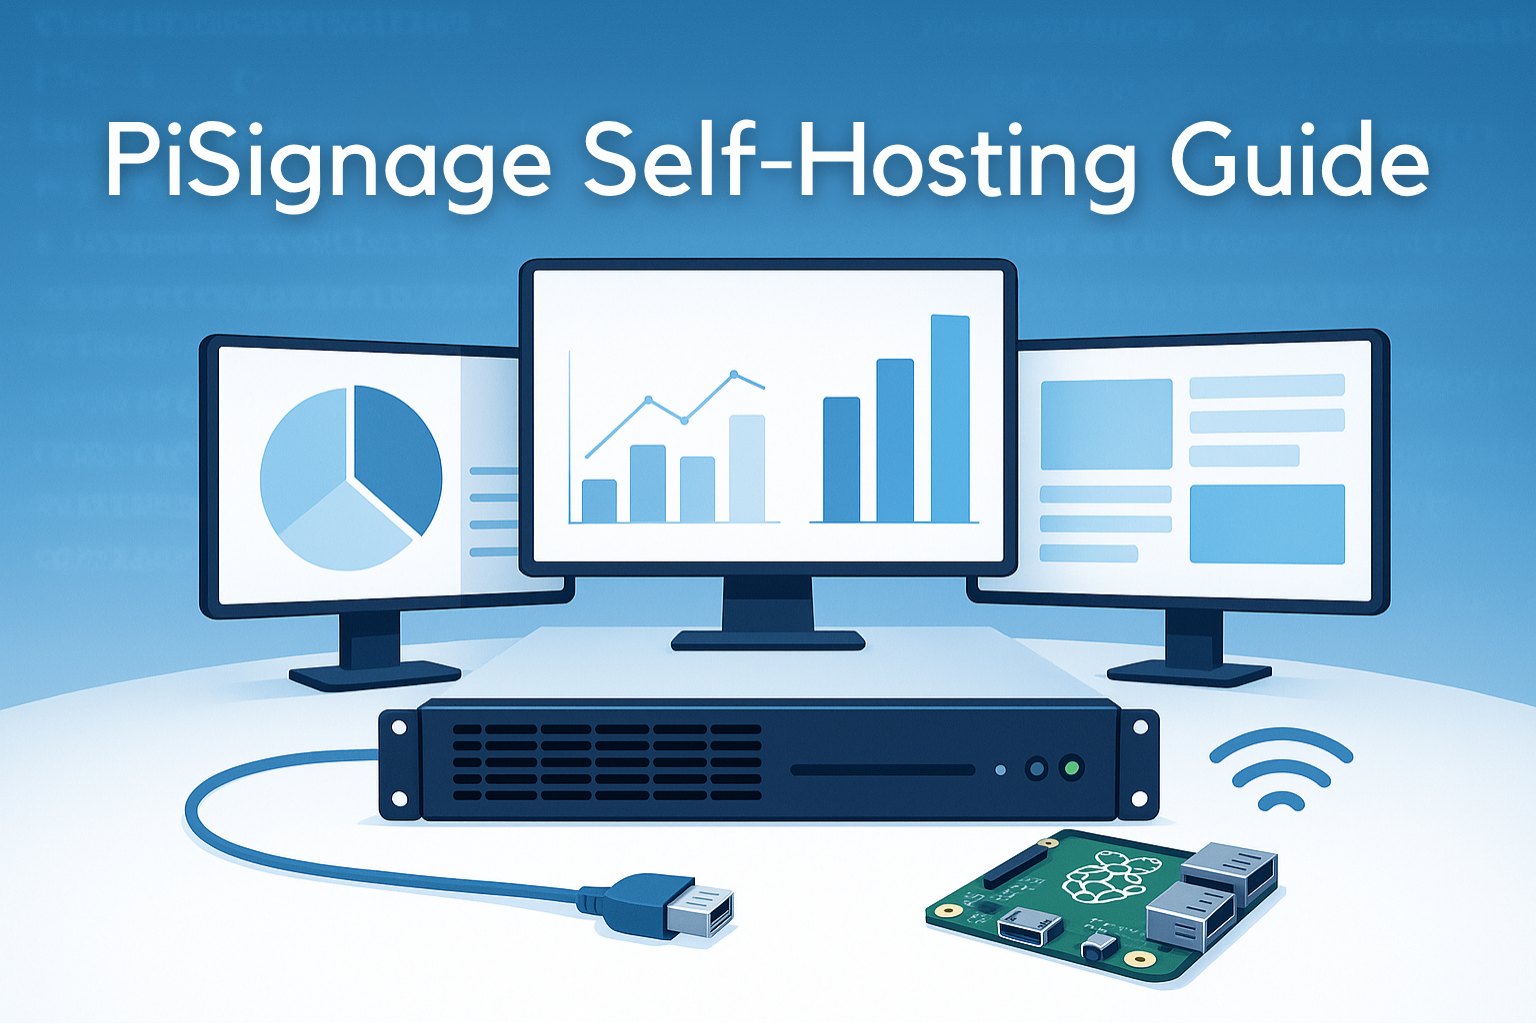
Open Source Digital Signage with PiSignage: How to Host Your Own Server
Learn to set up PiSignage's open-source digital signage server on your own infrastructure. Complete guide covers Docker installation, player setup, and choosing between self-hosted vs cloud options for reliable offline operation.

PiSignage offers an open source version for teams who want full control via self-hosting — alongside a cloud-hosted option for those who prefer simplicity. This guide walks you through how to set up PiSignage on your own server, and helps you decide when self-hosting makes sense versus when the hosted version might be a better fit.
I've been working with digital signage deployments for years, and I've seen firsthand how important it is to have options. Sometimes you need everything running on your local network. Sometimes internet connectivity is spotty or non-existent. And sometimes, you just want complete control over your data and infrastructure.
Quick Navigation
- Why Self-Hosting Still Makes Sense
- The PiSignage Stack at a Glance
- How to Set Up PiSignage Server
- Installation Options: Manual vs Docker
- Initial Configuration & Connecting Players
- Built for Reliability
- Self-Hosted vs Hosted: Comparison Table
- When the Hosted Version Is Better
- Your Screen, Your Choice
Why Self-Hosting Still Makes Sense (Even in 2025)
If you're considering self-hosting, you're not alone. I regularly work with organizations that need their digital signage to operate independently of external services, and there are solid reasons why this approach still makes perfect sense.
🌐 Internet limitations are real
Many facilities I've worked with have restricted internet access, spotty connectivity, or strict firewall policies that make cloud-based solutions impractical. Schools often run on filtered networks, factories may have isolated operational networks, and hospitals frequently maintain separate networks for different departments.
🎯 Control matters
When you're running signage for critical information — emergency alerts in hospitals, safety notices in manufacturing, or important announcements in educational settings — you want that system to work regardless of what's happening with your internet connection.
📈 Scale economics work differently
You're not alone in this approach. Many PiSignage users successfully run 50+ screens without ever touching the cloud. Once you have the infrastructure set up, adding more displays becomes incredibly cost-effective compared to per-screen licensing models.
Q: How do I run digital signage without internet?
A: PiSignage players cache all content locally, so they continue displaying scheduled content even without internet connectivity. Set up your server on a local network, sync your content when connected, and your displays will run independently. This works particularly well for schools, factories, and other environments with unreliable internet.
Q: Can PiSignage support LAN-only networks?
A: Absolutely. PiSignage is designed to work on isolated networks without internet access. The server and players communicate directly over your local network, and all content management happens locally. This makes it perfect for secure environments or locations with network restrictions.
The PiSignage Stack at a Glance
PiSignage's architecture is refreshingly straightforward, which is why it works so well for self-hosted deployments. Let me break down what you're actually working with:
📺 The Player
This runs on Raspberry Pi devices (or compatible hardware) and handles the actual display of content. It's lightweight, reliable, and completely open source. The player can cache content locally, so even if your server goes offline temporarily, your screens keep running.
🖥️ The Server
This is the management layer that you'll be hosting yourself. Built on Node.js, it handles content scheduling, device management, and all the administrative functions. You can run this on virtually any server environment — from a simple Linux box to enterprise hardware.
☁️ Optional Cloud Version
PiSignage also offers a hosted version if you prefer not to manage infrastructure. While the core functionality is similar, the hosted platform includes regular updates, built-in security management, and easier scaling.
For organizations that need complete control over their signage stack — including data, network access, and server environment — PiSignage provides an open-source version that you can self-host. Just note that this requires manual maintenance, and you'll be responsible for updates and security.
The beauty of this setup is that the player and server communicate over standard HTTP/HTTPS, making it network-friendly and easy to troubleshoot. Everything is available on GitHub with comprehensive documentation at, https://pisignage.com/homepage/documentation.html.
Q: What's the best open source digital signage software?
A: PiSignage offers a complete open source solution with both the player and server components available on GitHub. It's production-ready, supports Raspberry Pi hardware, includes content scheduling and device management, and has proven reliability with 500+ day uptimes in real deployments.
Q: Can I deploy digital signage with Docker?
A: Yes, PiSignage server is available as a Docker container, making deployment much simpler. Usedocker runwith the colloqi/pisignage-server image, mount your media and data volumes, and you're ready to go. This approach also makes updates and scaling easier to manage.
How to Set Up PiSignage Server (Open Source Path)
Let me walk you through two proven ways to install the open source version of PiSignage: manual setup and Docker-based deployment. Both work well. It just depends on your comfort level and the kind of environment you're deploying in. Pick the one that fits your workflow best.
✅ Prerequisites Checklist
Before you start, make sure your server environment has:
- MongoDB (for data storage)
- Node.js (version 12 or higher)
- ffmpeg (for media processing)
- Git (for downloading the source)
- At least 2GB RAM and 10GB storage (more for media files)
Installation Options: Manual vs Docker
🔧 Option A: Manual Installation
This approach gives you the most control and understanding of the system:
# Clone the repository
git clone https://github.com/colloqi/pisignage-server.git
cd pisignage-server

# Install dependencies
npm install

# Set up configuration
cp config_sample.json config.json
# Edit config.json with your MongoDB settings and preferences

# Start the server
npm start
The server will start on port 3000 by default.
Navigate tohttp://your-server-ip:3000to access the admin interface.
🐳 Option B: Docker Installation
For faster deployment and easier management, Docker is often the better choice:
# Pull and run the PiSignage container
docker run -d --name pisignage-server \
  -p 3000:3000 \
  -v /path/to/media:/app/public/assets \
  -v /path/to/data:/data/db \
  colloqi/pisignage-server
This approach isolates the application and makes updates much simpler.
Watch it in action:
Check out this step-by-step video walkthrough of setting up PiSignage server using Docker Compose, including the initial configuration and accessing the web interface.
Video : PiSignage Docker Setup Tutorial
The complete PiSignage server source code is available on GitHub with detailed installation instructions, configuration examples, and community contributions.
Check out the repository at https://github.com/colloqi/pisignage-server to get started.
Initial Configuration & Connecting Players
⚙️ Initial Configuration
Once your server is running:
- 🔐 Login: Use the default admin credentials (change these immediately)
- 📜 License Setup: Configure your licensing preferences
- 📁 Media Folders: Set up your content storage locations
- 🌐 Network Settings: Configure how players will connect to your server
🔌 Connecting Players
On each Raspberry Pi:
- 💾 Flash the PiSignage player image to an SD card
- 🚀 Boot the Pi and access its configuration interface
- 🎯 Point it to your server's IP address
- ✅ The player will register automatically and appear in your server dashboard
→ Can I Use Raspberry Pi for Digital Signage?
Q: Can I install a signage server on my own hardware?
A: Yes, PiSignage server runs on standard Linux hardware with Node.js and MongoDB. You can install it manually or use Docker for simpler deployment. The server manages all your displays from a single location and works great on everything from small office servers to enterprise infrastructure.
Q: How do I set up PiSignage server with Docker?
A: Pull the official container withdocker run -d --name pisignage-server -p 3000:3000 colloqi/pisignage-server. Mount volumes for your media files and database, then access the admin interface at port 3000. The Docker approach simplifies installation and makes the system easier to maintain and update.
🛡️Built for Reliability: Linux Foundation and Local Caching
PiSignage's architecture is designed for continuous operation. The system runs on a Linux foundation with lightweight players that cache content locally, enabling reliable 24/7 display operation. This architecture allows the displays to continue showing scheduled content even when network connectivity is interrupted.
🔧 Key Technical Elements
The key technical elements that enable this reliability include intelligent content caching, where players store media files locally and can operate independently when needed. The Linux-based player software is lightweight and doesn't strain system resources, contributing to stable long-term operation.
🏢 Real-World Applications
Several deployment scenarios benefit from this reliability-focused design:
- 🎓 School campus networks where displays need to show schedules and announcements consistently
- 🛒 Retail environments requiring continuous promotional content
- 🏭 Industrial facilities displaying safety messaging and production updates on isolated network segments
☁️ When the Hosted Version is a Smarter Move
Self-hosting isn't always the right answer, and I've learned to recognize when the hosted version serves clients better. If you're managing digital signage across several locations, the infrastructure overhead starts working against you. Each location needs someone who can handle basic IT troubleshooting, and coordinating updates across multiple self-hosted servers becomes a significant operational burden.
Wondering which PiSignage setup is right for you? Whether you're managing a local school network or deploying screens across multiple locations, this comparison will help you pick the best path.
| Feature / Criteria | 🖥️ Self-Hosted (Open Source) | ☁️ Hosted Version |
|---|---|---|
| Infrastructure | Runs on your own server (local or cloud) | Runs on PiSignage’s cloud infrastructure |
| Internet Requirement | Works fully offline on LAN | Requires internet access for remote management |
| Maintenance Responsibility | You manage updates, backups, monitoring | Managed entirely by PiSignage team |
| Cost | No recurring fees. May involve setup time or hardware cost | Subscription-based (first 2 screens free) |
| Control & Privacy | Full control over data, logs, and network access | Data is stored and managed on PiSignage cloud |
| Setup Complexity | Requires technical setup (Docker / Node.js + MongoDB) | No setup — plug-and-play with your players |
| Scaling Across Locations | Requires IT coordination per site | Easily scalable across multiple locations |
| Security / Air-Gapped Environments | Ideal for secure or isolated networks (e.g. hospitals) | Not suitable for air-gapped or no-internet zones |
| Customization / Source Code | Fully customizable, open source on GitHub | Limited customization, proprietary server stack |
| Remote Management | Possible with VPN/port forwarding (manual setup) | Built-in remote management via dashboard |
| Best For | Schools, hospitals, factories, government, OEMs, resellers | Businesses needing quick deployment & no infrastructure |
| License | Open source (AGPL license for server) | Commercial license with support included |
Use Cases of Cloud Hosted Version
🤝 For resellers and integrators
If you're supporting clients and don't want to field infrastructure support calls, the hosted version eliminates a major pain point. Your clients get the same PiSignage functionality without requiring you to maintain servers or handle network configuration issues.
⚡ For rapid scaling
When you need to deploy quickly across multiple sites, the hosted version removes variables. No server provisioning, no network configuration troubleshooting, no update coordination — just configure your players and go.
🌍 For remote management
The hosted version includes built-in remote access and automated updates. If you need to manage displays from multiple locations or don't have local IT support at each site, these features become essential.
PiSignage's hosted version runs the same engine as the self-hosted option — you're not sacrificing functionality, just shifting maintenance responsibility. You can start with 2 screens free to evaluate whether the feature set meets your needs.
☁️ Prefer Hassle-Free Hosting? Go With the Cloud Hosted Version
While self-hosting PiSignage gives you full control, it also means you’re responsible for server maintenance, security updates, and scaling.
If you'd rather skip the IT overhead and focus entirely on your content and screens, the PiSignage cloud version is a smart, streamlined option:
✅ Zero server setup or maintenance required
✅ Automatic updates & security patches — no manual work
✅ Remote access to all your players, instantly
✅ First 2 screens are free for life — with all features & updates
✅ Centralized dashboard to manage multiple locations
✅ Easiest way to launch digital signage at scale
Want the benefits of PiSignage without managing your own server?
Start instantly with our secure, fully managed cloud version.
2 screens are free for life — with full feature access and updates.
Your Screen, Your Choice
Whether you run PiSignage on your own hardware or let the hosted service handle the infrastructure, you're getting the same core flexibility to focus on what matters — your content and your audience.
The self-hosted path gives you complete control and eliminates ongoing costs, making it ideal for environments with specific network requirements or budget constraints. The hosted path removes operational overhead while maintaining the same feature set, perfect for distributed deployments or when you want to focus entirely on content management.
Reach out to support@pisignage.com — we're here to help you choose the deployment model that works best for your specific situation.
Ready to get started?
Try the hosted version with 2 free screens for life to see if PiSignage meets your needs.
Check out the complete installation documentation at https://pisignage.com/homepage/documentation.html for detailed setup instructions
Originally published in 2021. Fully updated and expanded in August 2025 to reflect the latest PiSignage features.