
Categories feature in piSignage to organise your account

In this video we will see how to create, edit and delete categories in a piSignage account and explore the applications of this feature.
CATEGORIES APPLICATIONS
Categories help you organise and manage assets, playlists, players and groups in your piSignage account. This is a very useful feature particularly for accounts with large content base and accounts with collaborators.
Filtering via Categories assist in locating assets, playlists, players etc you need quickly. The categories in piSignage account are shared across players, groups, assets and playlists. Hence you can have a combination of players, assets, playlists and groups in a single category. This allows you to create a category based on a theme. For example you can create a category named restaurant_cat (choose any mane of your choice) under which you can put all the components related to a restaurant, ie players, groups, playlists, assets.
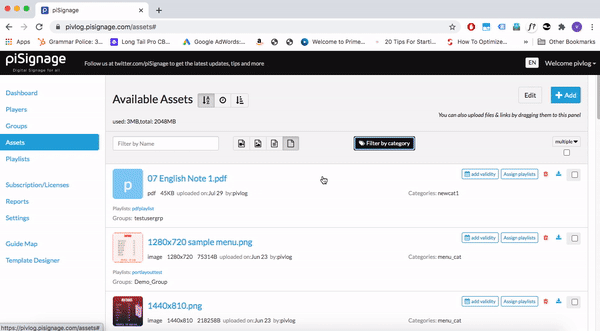
Example: Filtering via Categories
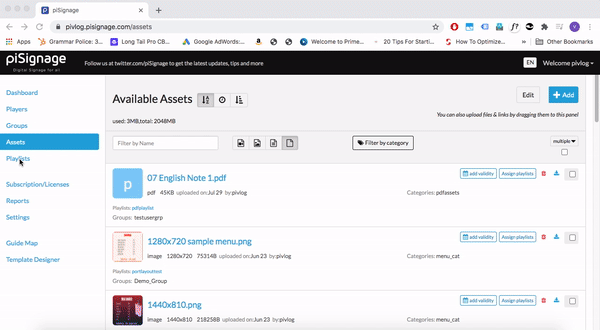
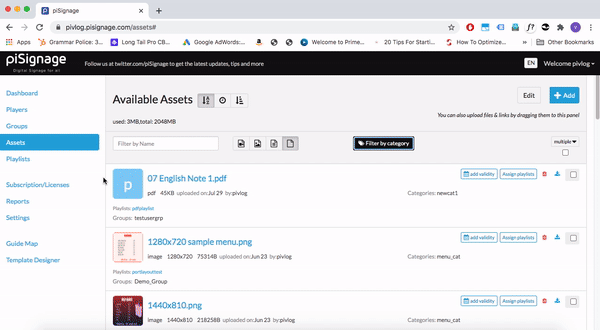
In the account given below there are a lot of assets, playlists and players.
So I have put all the assets that will be used in a restaurant menu in a category called menu_cat. Additionally I have included 1 player which exclusively shows menu and a relevant playlist made of menu assets in the same category.
Let us filter the assets based on category named menu_cat. Now only assets belonging to this category are displayed .

If you filter playlists based on menu_cat, again playlists belonging to the particular category are displayed.
You can also filter players and groups based on categories similarly. Creating relevant categories will make job of managing your account easy.
CREATING CATEGORIES.
Click on the filter by category button at the top of your account. This button is available when you are in any of the player/group/asset/playlist tab of your account. In the popup window that opens add a new category name and click on ADD. A new category is created.
Though categories can be created and assigned later, It is always better to create relevant categories beforehand so that you can assign categories to your assets while uploading them, or playlists while creating them etc. this makes managing your account easy.
Creating a CATEGORY when adding file type assets :Only in case of file type assets you can create a category while adding a file. You will get a create new category option while adding assets. For all other asset types, create categories in advance.
ASSIGNING CATEGORIES or EDITING ASSIGNED CATEGORIES
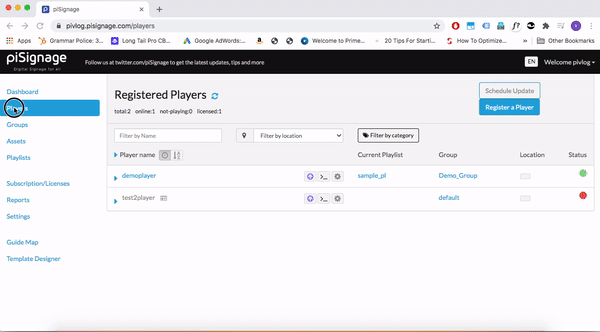
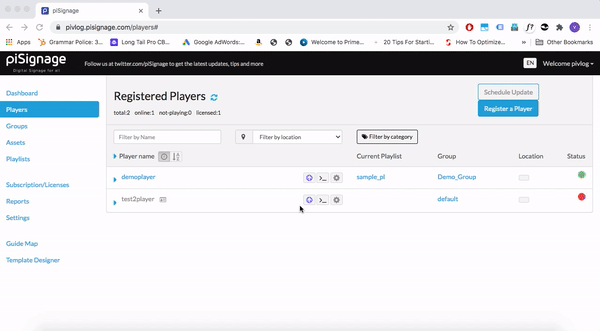
ASSIGNING CATEGORY TO A PLAYER
First we will assign Category for a player. Go to the players section. Click on the gear icon in front of the player. A popup window opens. Choose a category from a dropdown menu. A player can also be a part of multiple categories.
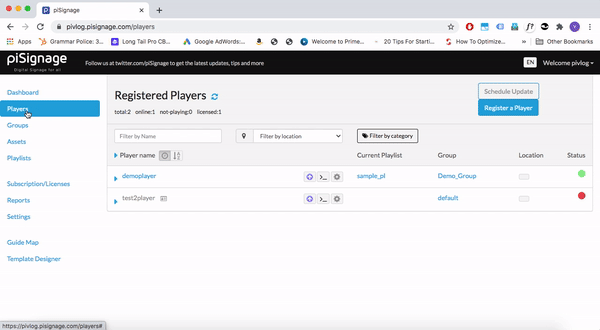
Similar procedure can be followed for changing the category for the player.
ASSIGNING CATEGORIES TO ASSETS,PLAYLISTS AND GROUPS.
Editing or assigning categories for assets/playlists/groups is very similar.
In front of every asset/group /player list there is small box. Select the box for the entity whose category you want to edit. In the top right section there is a button named MULTIPLE. Click on the arrow there and select Assign category in the drop down menu.
A pop up window opens. Here you can simply assign this asset to a pre existing category or you can create a new category and then assign the selected entities to that category.
The above video shows the procedure for assets. Similar procedure can be followed for categorising playlists and groups. Also following the same method you can edit assigned categories, ie change the category of an already categorised entity.
You can select multiple assets/playlists/or groups and categorise them all at once. Also assets/playlists/group can be put in multiple categories at once.
DELETING A CATEGORY
Click filter by category button (You can be in any of the Players/groups/assets/playlists section).
In the popup window that opens , there is an EDIT button. If you click on that you get the option to delete a category or you can choose multiple categories you want to delete, click on the multiple button and choose delete selected labels.
There is one more operation with categories.
Click on filter by categories and click on EDIT button in the popup window. Choose one or more categories. There is a button named multiple. If you click on it, you can see an assign to groups options. This feature of linking categories and groups is a useful feature while you have collaborators in your account .
We will learn about the application of this feature when looking into adding collaborators in your account.